Tuesday, February 16, 2021

Acom 1000 Display replacement part 2

 Within a week Val of Acom send me the ribbon cable.

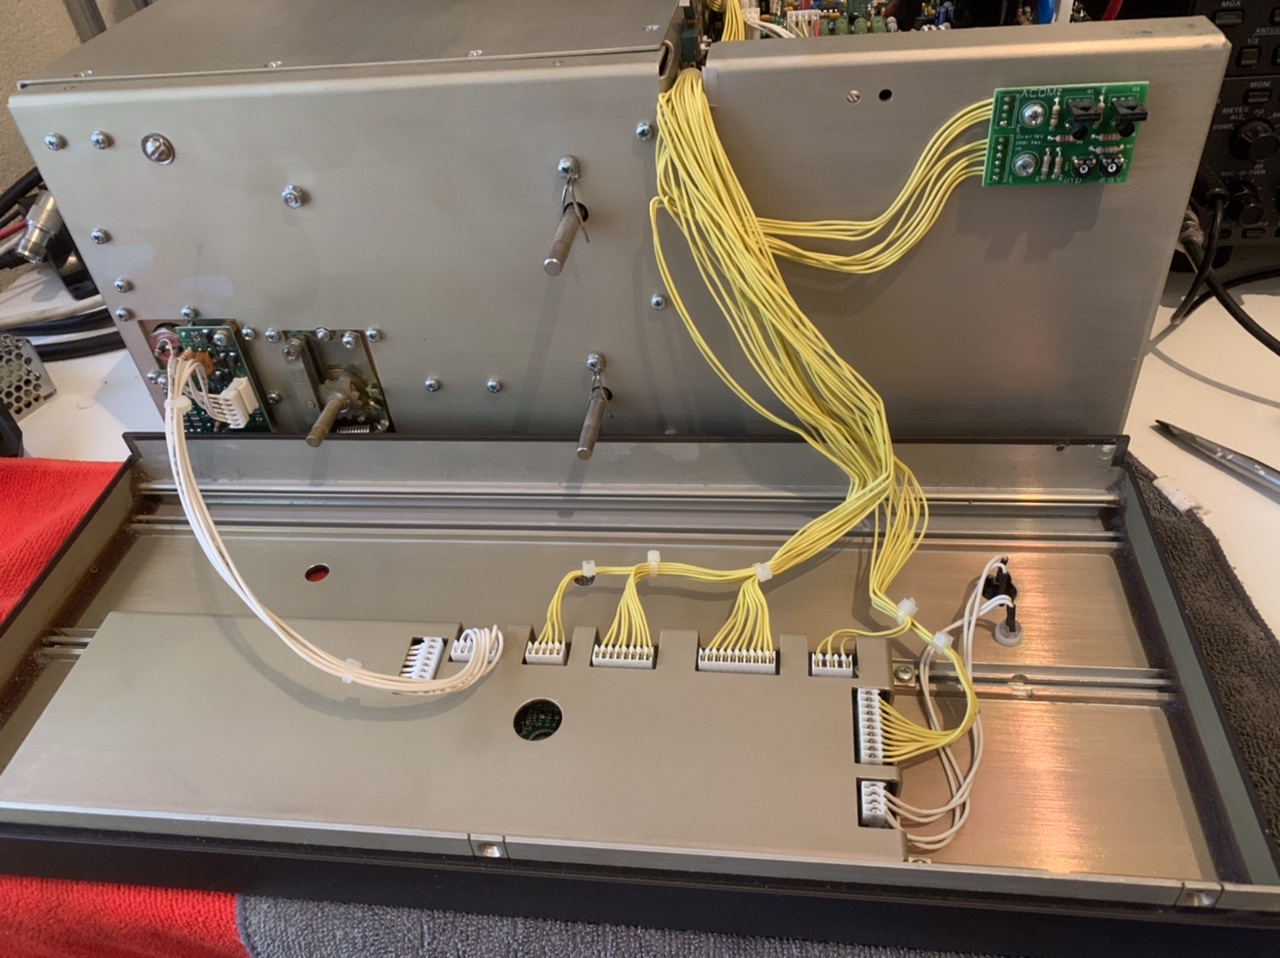
I soldered the connector of the cable on the new display and also connect both anode and kathode wires to the little swtich board.

This is the result, bracket, new display and new ribbon cable with blue connector.
Now put everything back in reverse order (or you may clean the inside of the amp before close its cover)
Time to switch on some power and....
Looks great! Simple to replace a broken display on your Acom!


Sunday, February 14, 2021

Acom 1000 display replacement. Part 1

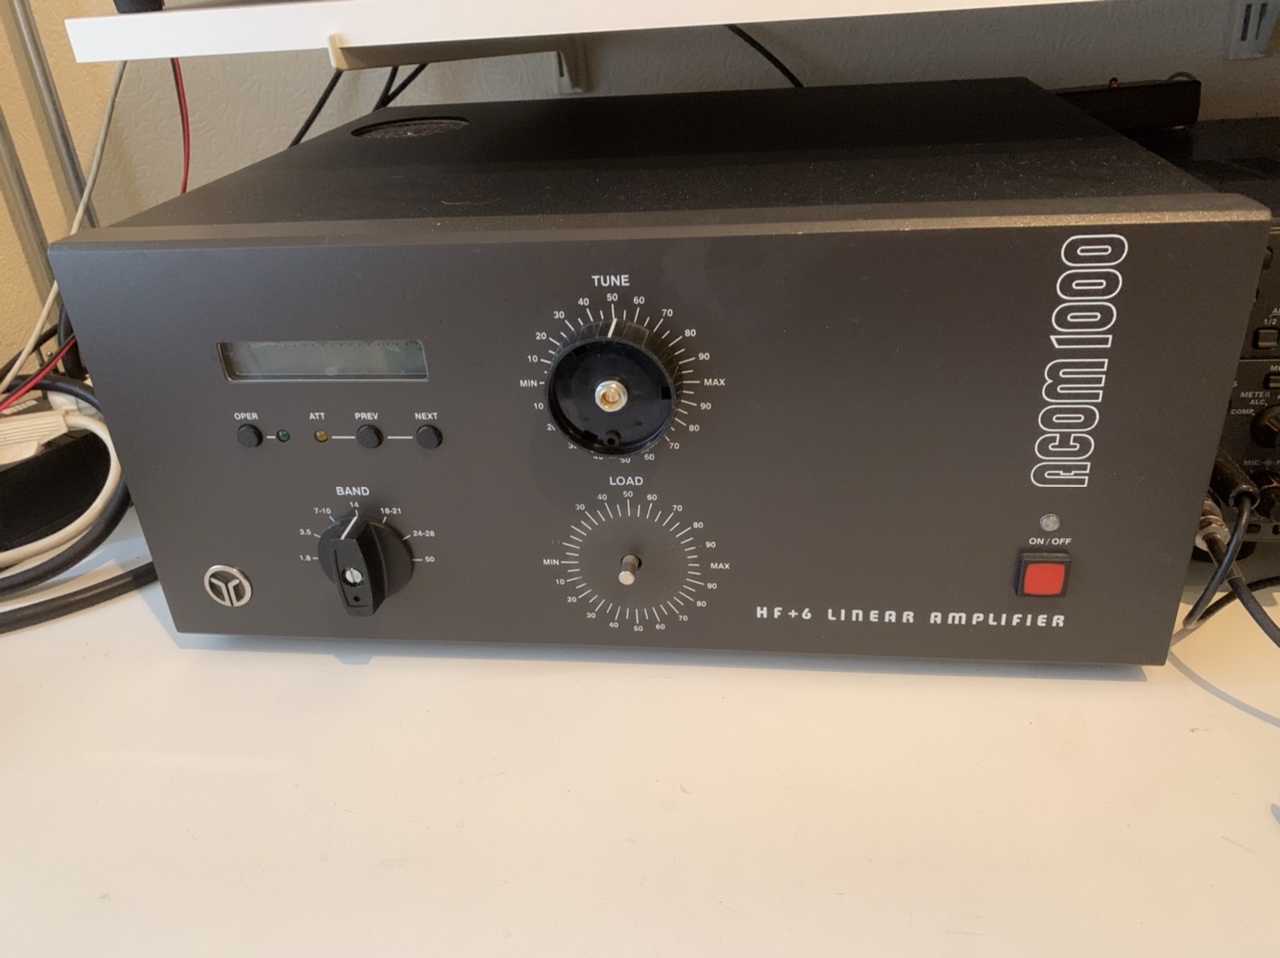
 Several years ago i bought my Acom 1000 from a local ham.

The only flaw was the display; some light bulbs failed but that was no show stopper for operate.

Because i planned to fix this issue i ordered a new display direct at the Icom factory.

These are no common displays also no common price!

A special bracket to hold the new type of display was also ordered as advised by Acom

For some reason the new display arrived directly on the shelf for some years....

But okay now in this Covid period i decided to fix the job.

First a safety warning : DUE TO HIGH VOLTAGES IN SUCH AN AMP, ASSURE THAT YOU WORK SAFE!!!

So convince yourself that the amplifier is safe to work on.

Put band switch on 14 mhz and load and tune on 50.
With a tin hobby knife remove the cover of the 3 knobs, do this very carefull.
Remove the knobs from the front pannel and remove the cover of the amp.
On top and bottom of the front pannel find the screws and take them out.
Gently pull the pannel from the case. Be aware of some connectors on the inside!

So now the first part is done. Remove the connectors from the frontpannel, note that 2 identical connectors  exist so mark them before pulling them out.
Now unscrew the protection cover.

At this point you reached the display. The blue connector connects the display and the white the control knobs of the amplifier.
Unscrew both display and control board and pull both connectors gently!
At this point i had to stop; The display Acom sent me had not the ribbon cable and blue connector.
To desolder the connector from the old display is almost impossible without damage!
That was a mistake from Acom.
So i contact Acom and they send me a new ribbon cable with blue connector.
As soon as i got it i can continue this job.


Wednesday, December 16, 2020

Sommerkamp TS-780DX touched up!

 Together with my radio friends Theo PA0KN and Edwin PA2LVD we saved a TS-780DX from scratch.

The Sommerkamp arrived from Belgium some weeks ago and had a few 🙃 flaws:

No audio on receive

No receive at all

No SSB transmit

Fault at 7 segment LED

Oscillating of PA after pressing ptt

Some knobs not original 

Case scratched and damaged.


We spend some time to fix these issues but after replacing the audio IC, a voltage regulator and zener diode, balance modulator, remove a short circuit in the IF part, repair cold joint at LED driver, put the PA in class A and perform some adjustments the transceiver came to live again!

Enclosure was also repainted and original knobs where placed.
Very nice to have a working 40 year old Sommerkamp saved from scrap!

The result (and yes it works on 10 meter band)


Sunday, December 13, 2020

Season’s Greetings


One of the strangest years ever ... let's hope 2021 saves us from all the misery! Happy holidays and stay healthy.

Friday, August 28, 2020

ATU-100 (N7DDC) automatic antenna tuner finished


 I finished this project with great craftsmanship of Theo PA0KN who made this enclosure, 

A very nice tuner kit from the far East!

Saturday, August 1, 2020

ATU-100 (N7DDC) Antenna tuner kit

Bought a nice kit (ebay / Ali, etc) to build an automatic antenna tuner (design N7DDC) which can handle approx 100 watts.
Tuner is usable from 160 meter till 6 meter.
It has a small but very clear oled display that shows all information you need.
For 30 euro i had the smd presoldered version, so the only thing you need to do is wind the coils and solder some normal components on the board.


Complete kit, very well packed in a plastic box.
PCB with all smd components already soldered.
You have to wind the coils yourself
Tuner finished! Next step is a nice enclosure

Sunday, April 19, 2020

UBITX Project

During this Covid-19 crisis the general advise is to stay at home.
Since i have a box full of unbuild projects i don’t have to bore and picked the UBITX to finish.
The Ubitx is an allband QRP hf transceiver and comes assembled for a very fair price.
I choose to upgrade to the Nextion touch display which includes a software upgrade for the Raduino.
There is a lot of information on the internet and also the new UBITX kit includes such a display.
For now i build the default kit and later on i will add a audio agc with a lm-317 audio ic.
My Ubitx with Nextion touch screen, build in progress